⚠️ Important: Verify Compatibility Before Purchase!
Important Note:
Please note that aftermarket remote controls are not universally compatible. They are designed for specific aftermarket systems.
Before purchasing, ensure your remote's FCC ID/Part Number or system model under the dash matches. If you're unsure, please contact us:
Descripción
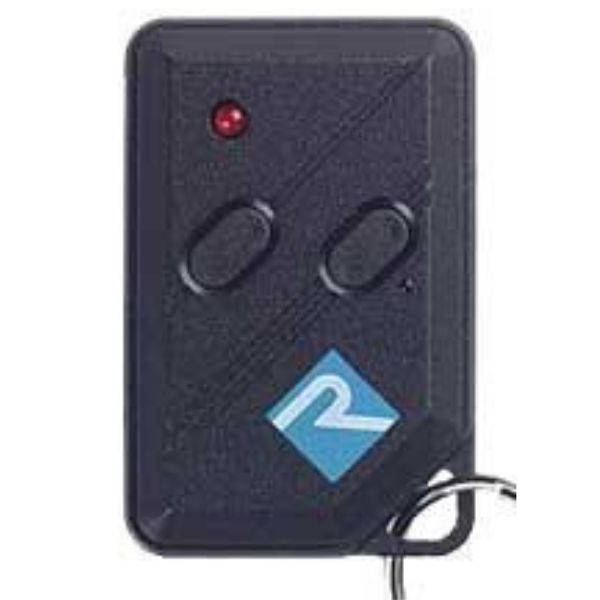
New Prestige APSBT5 Keyless Remote JDRAPSBT with programming instructions and battery included free.
Programming Procedure (TDS):
Perform the following procedure any time you wish to add replace and/or delete transmitters to you theft deterrent system.
ATTENTION: Failure to execute a step within 30 seconds causes the system to exit programming mode. If this happens, you must start again from step 1.
NOTE: Any time you enter programming mode, you will erase all previously programmed transmitters from the system's memory. It is important that you have all transmitters that will remain active (up to four) with you for programming.
NOTE: If you have a valet button instead of a valet switch then ??N/OFF??would be executed by just pressing the button once.
1. Turn the key to the ON position.
2. Turn the valet switch ON the OFF once the system may may cause the horn to sound 4 times, 2 times or not at all, depending on what state the system is in the systems resenting itself for programming mode.
3. Turn the ignition key to the OFF position, then back to the ON position.
4. Turn the valet switch ON and OFF 4 times, the horn will sound 4 times.
5. Push the button on any transmitter, the horn will sound once.
6. Turn the valet switch ON and then OFF once. The horn will sound 5 times indicating that all transmitter are erased from the system's memory.
7. Push the button on any transmitter you wish to keep the horn will sound once.
8. Repeat step 7 using the remaining transmitters.
9. Exit programming mode by turning the ignition to OFF.
10. Verify that all the transmitter operate properly.
Programming Procedure (Audiovox):
1. Enter the vehicle and turn the ignition key to the "on" position.
2. Press valet button 3 times.
3. If installed, the dash LED will flash one time, and the siren will "chirp" one time, indicating the
system is ready to accept programming for channel 1.
4. Press button #1 on the keychain transmitter for 1-3 seconds until the siren emits a long "chirp" to
confirm that programming of channel I was successful. If your remote has one button, then skip
to last step.
5. Press valet button 1 time.
6. If installed, the dash LED will flash twice, and the siren will "chirp" twice, indicating the system is
ready to accept programming for channel 2.
7. Press button #2 on the keychain transmitter for 1-3 seconds until the siren emits a long "chirp" to
confirm that programming of channel I was successful. If your remote has two buttons, then skip
to last step.
8. Press valet button 1 time.
9. If installed, the dash LED will flash thrice, and the siren will "chirp" thrice, indicating the system is
ready to accept programming for channel 3.
10. Press button #3 on the keychain transmitter for 1-3 seconds until the siren emits a long "chirp" to
confirm that programming of channel I was successful. If your remote has three buttons, then
skip to last step.
11. If installed, the dash LED will flash four times, and the siren will "chirp" four times, indicating the
system is ready to accept programming for channel 4.
12. Press button #4 on the keychain transmitter for 1-3 seconds until the siren emits a long "chirp" to
confirm that programming of channel I was successful. If your remote has three buttons, then
skip to last step.
13. If the remote has 5 or more buttons, then continue the sequence described above programming
the remaining buttons to the remaining channels.
14. To exit program mode, either turn the ignition key to the off position, or move the valet switch on
then off one additional time. This is indicated by a long "chirp" from the siren.

